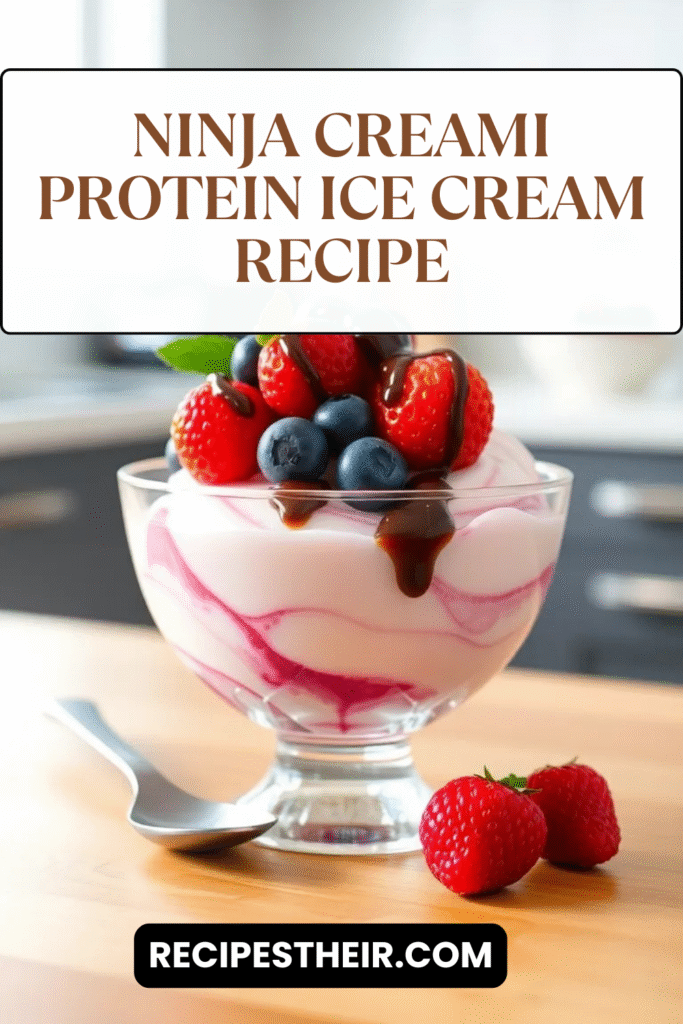
Are you looking for a guilt-free dessert that satisfies your sweet tooth while packing a protein punch? Look no further! This Ninja Creami protein ice cream recipe is your go-to solution for a creamy, delicious treat that is perfect for fitness enthusiasts, busy parents, or anyone craving a healthier dessert option.
With the Ninja Creami, making protein-packed ice cream at home is easier than ever. This guide will walk you through everything you need—from choosing the right protein powder to customizing flavors that suit your taste buds.
What is the Ninja Creami?
The Ninja Creami is a versatile kitchen appliance designed to turn frozen bases into creamy, scoopable ice cream, gelato, sorbet, and even milkshakes. Unlike traditional ice cream makers, the Ninja Creami processes frozen ingredients in a way that delivers a smooth and creamy texture without the need for excessive sugar or fat.
Using this appliance, you can create:
- High-protein desserts
- Low-sugar options
- Dairy-free alternatives
It’s perfect for anyone wanting to enjoy ice cream without compromising their dietary goals.
Why Choose a Protein Ice Cream?
Adding protein to your ice cream has several benefits:
- Supports Muscle Recovery: Protein is essential after workouts to repair and build muscles.
- Keeps You Full Longer: A protein-rich dessert helps curb cravings and keeps you satisfied.
- Healthier Indulgence: You can enjoy ice cream without excessive sugar and calories.
With this Ninja Creami protein ice cream recipe, you get all the flavor of traditional ice cream while staying on track with your nutrition goals.
Ingredients You Will Need
Here’s a simple list of ingredients for a single batch of protein ice cream:
- 1 cup unsweetened almond milk (or any milk of your choice)
- 1 scoop vanilla or chocolate protein powder (whey, plant-based, or collagen)
- 1–2 tablespoons natural sweetener (like stevia, monk fruit, or erythritol)
- 1 teaspoon pure vanilla extract
- 2–3 tablespoons Greek yogurt (optional, for creaminess)
- Optional mix-ins: Dark chocolate chips, berries, nuts, or peanut butter
Tip: Make sure your protein powder is free of clumps for the smoothest ice cream texture.
Step-by-Step Ninja Creami Protein Ice Cream Recipe
Step 1: Mix Your Base
In a mixing bowl, combine the almond milk, protein powder, sweetener, and vanilla extract. Whisk thoroughly until the protein powder is completely dissolved.
If you want extra creaminess, add Greek yogurt to the mixture. This will give your ice cream a smooth and rich texture.
Step 2: Freeze the Base
Pour the mixture into the Ninja Creami pint container. Seal the container with the lid and freeze for 24 hours. This step is crucial for achieving the perfect ice cream consistency.
Pro Tip: Avoid opening the freezer too frequently to prevent ice crystals from forming.
Step 3: Process in Ninja Creami
Once fully frozen, remove the pint container from the freezer and insert it into the Ninja Creami machine. Select the “Ice Cream” setting and let the appliance work its magic.
Depending on your preferred texture, you may want to run a second spin to achieve ultra-creamy results.
Step 4: Add Mix-Ins
After processing, gently fold in any optional mix-ins like chocolate chips, crushed cookies, or berries.
Tip: Avoid overmixing to maintain the integrity of the ice cream texture.
Step 5: Serve and Enjoy
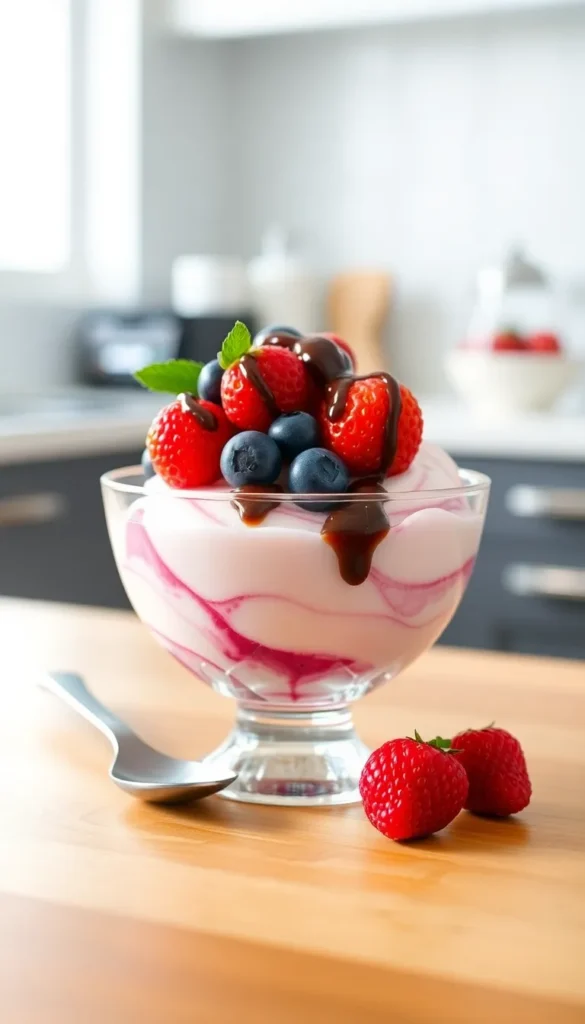
Scoop your high-protein ice cream into bowls or cones. For an extra touch, drizzle with sugar-free chocolate syrup or sprinkle with nuts.
This recipe makes approximately 2 servings, perfect for a post-workout treat or dessert with a friend.
Flavor Variations for Your Ninja Creami Protein Ice Cream
The beauty of this recipe is its versatility. Here are some creative flavor variations you can try:
1. Chocolate Peanut Butter Protein Ice Cream
Add 1 tablespoon of natural peanut butter and a teaspoon of cocoa powder to your base. Mix and process for a creamy, chocolaty delight.
2. Berry Blast Protein Ice Cream
Fold in fresh or frozen berries after processing. Blueberries, raspberries, or strawberries add natural sweetness and antioxidants.
3. Mocha Protein Ice Cream
Add 1 teaspoon of instant coffee granules to the base for a coffee-infused ice cream that energizes and delights.
4. Mint Chocolate Chip Protein Ice Cream
Mix in a few drops of peppermint extract and dark chocolate chips for a refreshing dessert.
5. Cookie Dough Protein Ice Cream
Fold in small pieces of protein-friendly cookie dough or sugar-free cookies for a nostalgic treat.
Tips for Making Perfect Ninja Creami Protein Ice Cream
- Use cold ingredients: Chill your base in the fridge for 30 minutes before freezing to reduce ice crystals.
- Freeze for a full 24 hours: Don’t rush the freezing process; this ensures creamy texture.
- Choose the right protein powder: Whey protein gives creamier results, while plant-based proteins may need a small addition of Greek yogurt for smoothness.
- Avoid over-sweetening: Sweeteners like stevia or monk fruit are ideal because they don’t alter the ice cream’s texture.
- Experiment with mix-ins: Nuts, seeds, and sugar-free chocolate enhance flavor and texture without adding too many calories.
Nutritional Information (Approximate per Serving)
Here’s a rough estimate based on the base recipe without mix-ins:
- Calories: 150–180
- Protein: 20–25g
- Carbohydrates: 8–10g
- Fat: 2–4g
- Sugar: 1–2g
These numbers make it an excellent choice for anyone on a low-sugar, high-protein diet.
Common Mistakes to Avoid
- Skipping the 24-hour freeze: Ice cream won’t achieve the creamy texture.
- Not mixing protein powder well: Leads to clumps in the final product.
- Overloading the mix-ins: Can prevent the ice cream from spinning properly.
- Using too much sweetener: Overly sweet ice cream can mask natural flavors.
Follow these tips, and your Ninja Creami protein ice cream will turn out perfect every time.
Benefits of Making Protein Ice Cream at Home
- Customizable flavors: Unlike store-bought options, you can tailor the flavor to your liking.
- Control over ingredients: Avoid preservatives, artificial colors, and excess sugar.
- Cost-effective: Making ice cream at home saves money compared to premium protein ice creams in stores.
- Diet-friendly: Perfect for low-carb, keto, or high-protein diets.
How to Store Ninja Creami Protein Ice Cream
If you have leftovers, store the ice cream in an airtight container in the freezer. To maintain creaminess:
- Avoid repeated thawing and refreezing
- Use a spoon to level the surface before sealing the lid
- Allow the ice cream to sit at room temperature for 3–5 minutes before scooping
Frequently Asked Questions (FAQs)
Q1: Can I make this ice cream dairy-free?
Yes! Use almond milk, coconut milk, or oat milk and skip the Greek yogurt for a fully dairy-free option.
Q2: Can I use flavored protein powders?
Absolutely! Vanilla, chocolate, or even cookies-and-cream protein powders work well. Adjust sweeteners as needed.
Q3: How long does it last?
Properly stored, it can last up to 1 month in the freezer without losing texture.
Q4: Can I double the recipe?
Yes, but make sure to freeze in separate pint containers to maintain consistent creaminess.
Final Thoughts
This Ninja Creami protein ice cream recipe proves that healthy desserts don’t have to be boring. With a few simple ingredients, a Ninja Creami, and some creativity, you can enjoy a high-protein, low-sugar ice cream anytime. Whether you prefer chocolate, berries, or cookie dough, this recipe is customizable, easy to make, and perfect for anyone looking to indulge responsibly.