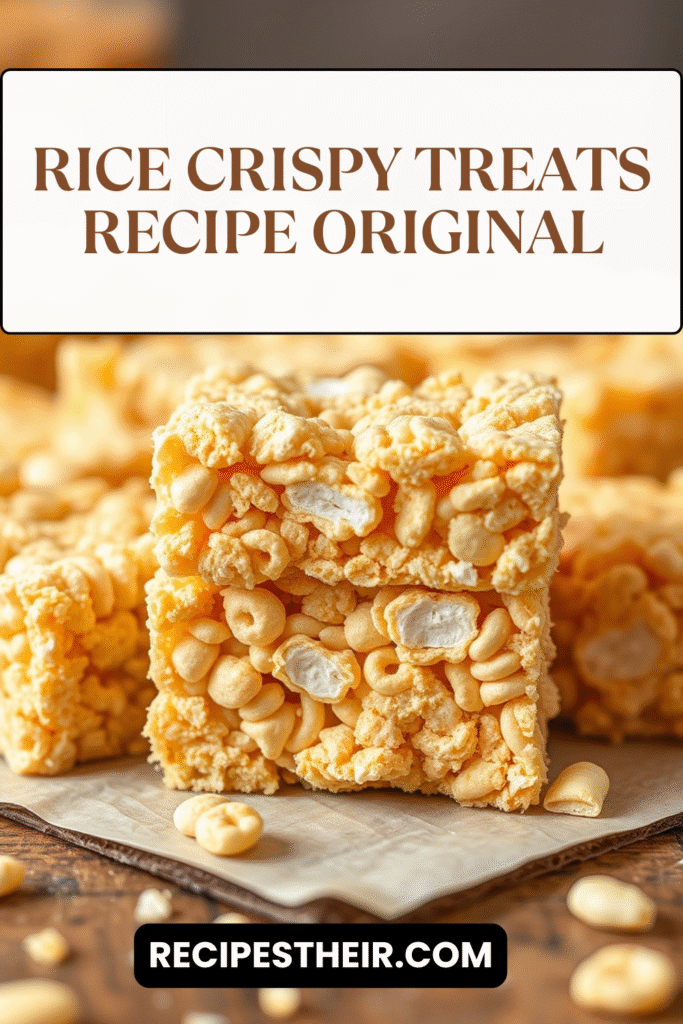
When it comes to nostalgic desserts, few can compete with the rice crispy treats recipe original. This classic, gooey, marshmallow-filled delight has been winning hearts for generations. Perfect for bake sales, quick desserts, after-school snacks, or even a fun weekend activity with the kids, these no-bake bars are as easy as they are irresistible.
In this guide, we’ll walk you through the authentic, original Rice Krispies Treats recipe, share insider tips to make them perfectly chewy every time, explore tasty variations, and answer all your burning questions about making and storing them.
Why the Original Rice Crispy Treats Recipe Is So Timeless
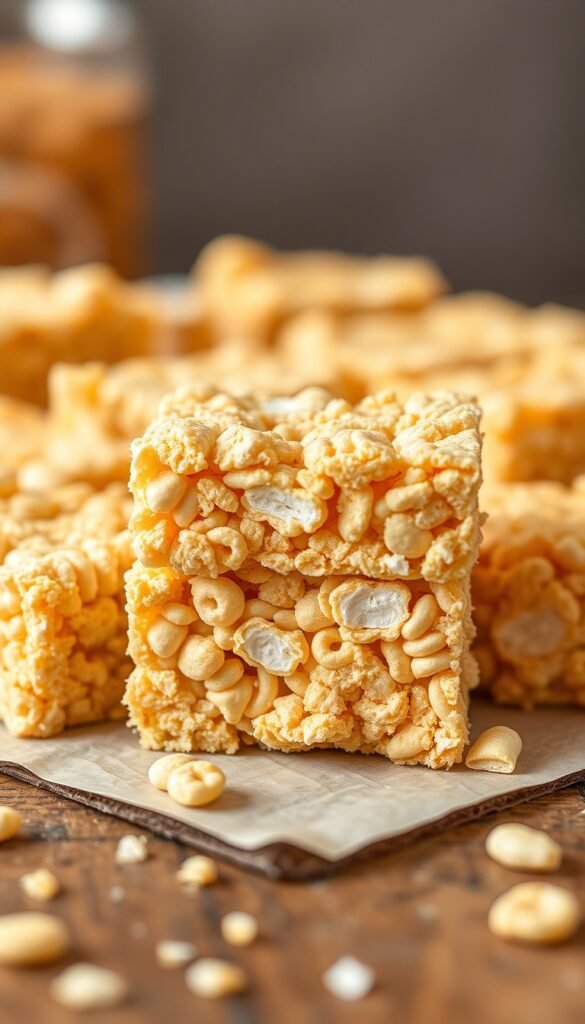
The original recipe, first introduced in 1939 by Kellogg’s, has stood the test of time for a reason — simplicity and flavor. With only three ingredients — crispy rice cereal, marshmallows, and butter — you get the perfect blend of sweet, buttery, and crunchy. The treat takes just minutes to prepare, requires no oven, and can be easily customized for different flavors or festive occasions.
Unlike store-bought versions, homemade rice crispy treats taste fresher, have the ideal soft-chewy texture, and can be tailored exactly to your sweetness preference.
Ingredients for the Original Rice Crispy Treats Recipe
Before we get started, here’s what you’ll need for the classic batch:
- 3 tablespoons (about 42g) unsalted butter – You can also use salted butter for a slightly savory balance.
- 4 cups (about 10 oz) mini marshmallows – Fresh is best for meltability.
- 6 cups (about 160g) crispy rice cereal – Kellogg’s Rice Krispies is the traditional choice.
Optional Add-ins (if you want to customize):
- ½ teaspoon vanilla extract (for extra flavor)
- A pinch of salt (to balance sweetness)
Step-by-Step – How to Make Rice Crispy Treats Recipe Original
Follow these steps for perfect results every time:
Step 1: Prep Your Pan
Lightly grease a 9×13-inch baking pan with butter or nonstick spray. You can also line it with parchment paper for easier removal.
Step 2: Melt the Butter
In a large saucepan, melt butter over low heat. Stir occasionally so it doesn’t brown (unless you like the nutty flavor of browned butter).
Step 3: Add the Marshmallows
Once the butter is fully melted, add the marshmallows. Stir continuously over low heat until completely melted and smooth.
Tip: Low heat is key — it keeps the marshmallows soft and prevents them from turning rubbery.
Step 4: Mix in the Cereal
Remove the pan from the heat. Quickly add the crispy rice cereal and stir until every piece is coated with the marshmallow mixture.
Step 5: Press into the Pan
Transfer the mixture into your prepared pan. Using a buttered spatula or wax paper, gently press it down evenly. Avoid pressing too firmly, or the bars may turn hard.
Step 6: Cool and Cut
Let the treats cool for at least 30 minutes at room temperature. Cut into squares and enjoy.
Pro Tips for Perfect Rice Crispy Treats Every Time
- Fresh Ingredients Are Key – Stale cereal or old marshmallows won’t give you that signature texture.
- Don’t Overheat the Marshmallows – Low heat keeps them soft and gooey.
- Butter Your Tools – A buttered spatula prevents sticking when pressing the mixture into the pan.
- Don’t Overpack – Press gently so your treats stay light and chewy, not dense.
- Serve Fresh – These are best enjoyed within 2 days for maximum softness.
Fun Variations on the Original Rice Crispy Treats Recipe
While the rice crispy treats recipe original is perfect as-is, you can easily customize it:
- Chocolate Drizzle – Melt chocolate chips and drizzle over the top.
- Peanut Butter – Stir ½ cup creamy peanut butter into the melted marshmallow mixture.
- Holiday Sprinkles – Add colorful sprinkles for seasonal flair.
- Cookies and Cream – Fold in crushed chocolate sandwich cookies.
- Fruity Twist – Swap half the marshmallows for fruity marshmallows for a colorful treat.
How to Store Rice Crispy Treats
- Room Temperature: Store in an airtight container for up to 3 days.
- Avoid Refrigeration: The fridge makes them too hard.
- Freezing Option: You can freeze them (wrapped tightly) for up to 6 weeks. Thaw at room temperature before serving.
Common Questions About Rice Crispy Treats
1. Can I use large marshmallows instead of mini?
Yes! Just measure by weight and cut them into smaller pieces for easier melting.
2. Why are my rice crispy treats hard?
This usually happens if you overheat the marshmallows or press the mixture too firmly into the pan.
3. Can I make them vegan?
Yes — use vegan marshmallows and a plant-based butter alternative.
4. Can I double the recipe?
Absolutely. Use a larger pan or make two separate batches.
Nutritional Information (Per Square, Approximate)
- Calories: 150
- Carbohydrates: 29g
- Sugars: 14g
- Fat: 3.5g
- Protein: 1g
(Nutrition may vary depending on brand and add-ins.)
The Magic of the Rice Crispy Treats Recipe Original
From birthday parties to lazy Sunday afternoons, the rice crispy treats recipe original is proof that great desserts don’t have to be complicated. In less than 15 minutes, you can create a sweet, chewy, and satisfying snack that sparks nostalgia in every bite. Whether you stick to the classic three-ingredient method or add your own twist, this recipe is one you’ll come back to time and time again.