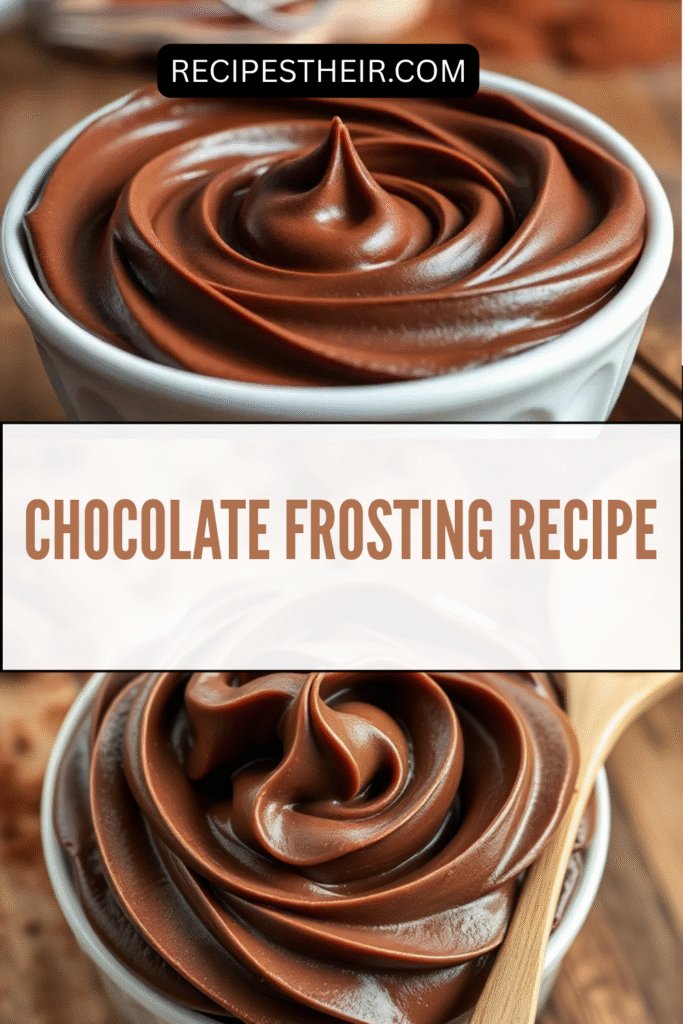
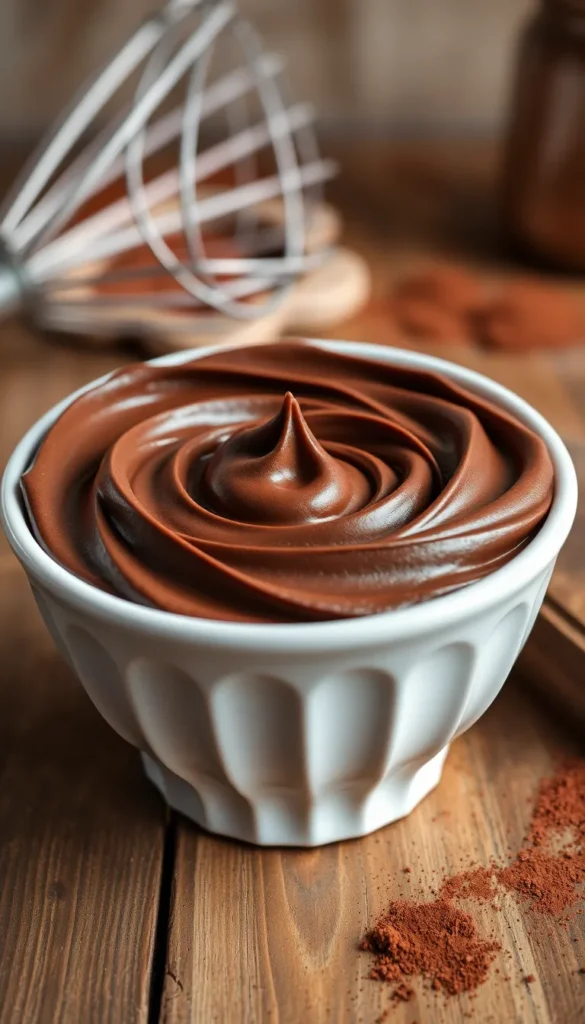
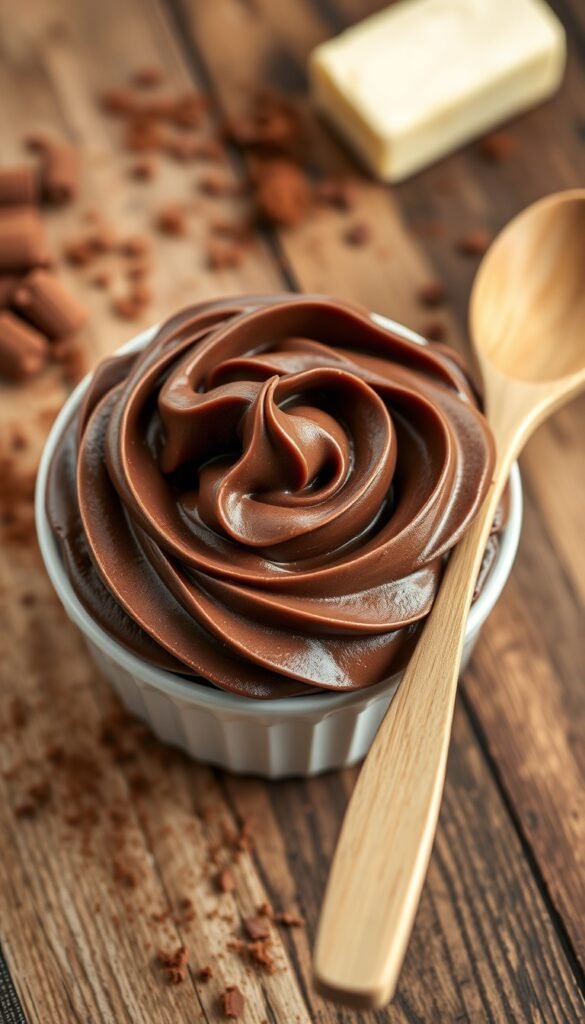
When it comes to cakes, cupcakes, brownies, and even cookies, nothing beats a rich, creamy chocolate frosting recipe. It’s the perfect finishing touch that takes any dessert from “pretty good” to “completely irresistible.” Whether you’re a beginner baker or a seasoned pro, mastering a homemade chocolate frosting will become one of your most reliable kitchen skills.
In this article, we’ll share the best chocolate frosting recipe, plus variations, expert tips, storage advice, and pairing suggestions so you can customize it to your taste and occasion.
Why Make Chocolate Frosting at Home?
Sure, store-bought frosting is convenient, but homemade chocolate frosting offers unbeatable flavor and texture. Here’s why you should make it from scratch:
- Fresh, real ingredients – No artificial aftertaste or preservatives.
- Customizable sweetness – Adjust the sugar and cocoa to your preference.
- Perfect consistency – Spreadable yet holds its shape beautifully.
- Rich chocolate flavor – Cocoa powder or melted chocolate gives depth.
Plus, the process is quick and straightforward — in less than 10 minutes, you’ll have a bowl of luscious chocolate frosting ready to use.
Ingredients You’ll Need for Chocolate Frosting Recipe
This classic chocolate frosting recipe uses simple pantry staples.
For one batch (enough for a 2-layer cake or 24 cupcakes):
- 1 cup (230g) unsalted butter, softened to room temperature
- 3 ½ cups (420g) powdered sugar (also called confectioners’ sugar)
- ½ cup (50g) unsweetened cocoa powder (natural or Dutch-processed)
- ½ teaspoon salt (balances sweetness)
- 2 teaspoons pure vanilla extract
- 4–6 tablespoons heavy cream or whole milk (adjust for consistency)
Tip: Use high-quality cocoa powder for the richest flavor. Brands like Ghirardelli, Valrhona, or Hershey’s Special Dark make a noticeable difference.
Step-by-Step Instructions
Follow these easy steps for the silkiest, fluffiest chocolate frosting:
Step 1 – Beat the Butter
In a large mixing bowl, use a hand mixer or stand mixer fitted with the paddle attachment to beat the softened butter for 2–3 minutes until light and creamy. This step is crucial for achieving a smooth texture.
Step 2 – Add Cocoa Powder
Sift the cocoa powder over the butter to prevent lumps. Beat on low speed until fully combined, scraping down the sides as needed.
Step 3 – Add Powdered Sugar and Salt
Gradually add the powdered sugar, about 1 cup at a time, beating on low to avoid a sugar cloud. Sprinkle in the salt for balance.
Step 4 – Add Vanilla and Cream
Pour in the vanilla extract and 4 tablespoons of cream. Beat on medium-high speed for 3–4 minutes until the frosting is fluffy. If it’s too thick, add cream a tablespoon at a time until it reaches your desired consistency.
Step 5 – Taste and Adjust
Taste the frosting — if you want it sweeter, add more powdered sugar. For a stronger chocolate flavor, mix in an extra tablespoon of cocoa.
Variations on the Classic Chocolate Frosting Recipe
One of the best things about this recipe is how adaptable it is. Here are a few variations:
1. Dark Chocolate Frosting
Use Dutch-processed cocoa powder for a deep, intense chocolate taste. You can also melt 4 ounces of dark chocolate and whip it in with the butter.
2. Milk Chocolate Frosting
Replace half of the cocoa powder with melted milk chocolate for a sweeter, creamier flavor.
3. Vegan Chocolate Frosting
Swap butter with vegan butter or refined coconut oil, and use plant-based milk like almond, oat, or soy.
4. Mocha Frosting
Add 1 tablespoon of instant espresso powder dissolved in 1 tablespoon of hot water for a coffee-chocolate twist.
5. Whipped Chocolate Frosting
Increase the cream to ½ cup and whip on high speed for an airy, mousse-like texture.
Expert Tips for Perfect Chocolate Frosting
- Start with room temperature butter – This ensures even mixing without lumps.
- Sift powdered sugar and cocoa powder – Removes clumps for a silky texture.
- Beat long enough – Whipping for several minutes incorporates air for a fluffy result.
- Don’t overdo the cream – Add it slowly to avoid runny frosting.
- Taste as you go – Everyone’s sweetness preference is different.
How to Use This Chocolate Frosting
This versatile chocolate frosting recipe pairs beautifully with countless desserts:
- Cakes – Chocolate cake, vanilla cake, red velvet cake, or marble cake.
- Cupcakes – Pipe tall swirls for a bakery-style finish.
- Brownies – Spread a thick layer for extra indulgence.
- Cookies – Sandwich between two cookies for homemade whoopie pies.
- Donuts – Use as a rich glaze alternative.
Storage and Make-Ahead Tips
- Room Temperature: If using within 1–2 days, store covered in a cool, dry spot.
- Refrigerator: Keep in an airtight container for up to 1 week. Bring to room temp before using.
- Freezer: Freeze for up to 3 months. Thaw in the fridge overnight and re-whip before spreading.
Frequently Asked Questions
1. Can I make chocolate frosting without cocoa powder?
Yes! Use 8 ounces of melted chocolate instead and whip it into the butter.
2. How do I make it less sweet?
Reduce powdered sugar to 2 ½ cups and add more cocoa powder for balance.
3. Can I double this recipe?
Absolutely. Just make sure your mixing bowl is large enough.
4. Why is my frosting grainy?
This usually happens if the sugar isn’t fully dissolved or if the butter is too cold. Beat longer to fix.
Final Thoughts
This chocolate frosting recipe is a kitchen classic — rich, creamy, and endlessly adaptable. With just a few simple ingredients and under 10 minutes of prep, you can whip up a batch that transforms any dessert into a showstopper.
Whether you spread it generously on a layer cake, pipe it high on cupcakes, or sneak a spoonful straight from the bowl (no judgment!), this recipe will quickly become your go-to for any sweet occasion.