If you’ve ever grabbed a store-bought granola bar on a busy morning, you know they can be convenient — but often loaded with sugar, artificial flavors, and preservatives. That’s where homemade granola bars come in. They’re wholesome, customizable, and surprisingly easy to make in your own kitchen. Whether you want a quick breakfast, a lunchbox snack for your kids, or a healthy energy boost before the gym, learning how to make homemade granola bars is a game-changer.
In this guide, we’ll cover everything you need to know: the benefits of making them yourself, key ingredients, step-by-step instructions, storage tips, and creative variations to keep your snack routine exciting.

Why Make Homemade Granola Bars?
Before we dive into the recipe, let’s talk about why homemade granola bars are worth your time:
- Control Over Ingredients: You choose what goes in — oats, nuts, natural sweeteners — no unnecessary additives.
- Customizable: Gluten-free, vegan, nut-free, or high-protein? You can easily adapt the recipe to your dietary needs.
- Fresher & Healthier: You skip the processed ingredients and enjoy a fresher, nutrient-packed snack.
- Cost-Effective: Making a batch at home is usually cheaper than buying individual bars.
- Fun to Make: It’s a quick, kid-friendly kitchen project that can be done in under 30 minutes.
Key Ingredients for Perfect Homemade Granola Bars
Homemade granola bars are made with a handful of pantry staples. Here’s what you’ll need:
- Old-Fashioned Oats – The base of any good granola bar. They provide fiber, texture, and a nutty flavor.
- Nut Butter – Peanut butter, almond butter, or sunflower seed butter helps bind everything together while adding protein.
- Sweetener – Honey, maple syrup, or agave nectar adds natural sweetness and helps the bars stick together.
- Mix-ins – Chopped nuts, dried fruits, chocolate chips, seeds (chia, flax, pumpkin) make the bars more flavorful and nutrient-rich.
- Vanilla & Spices – A splash of vanilla extract or a pinch of cinnamon takes the flavor up a notch.
- A Pinch of Salt – Balances the sweetness and enhances taste.
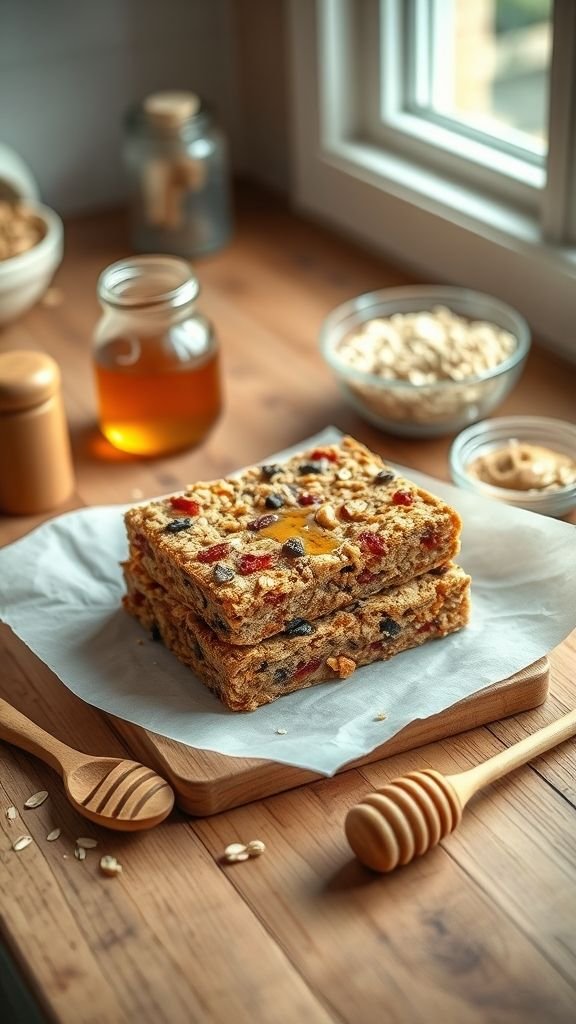
Step-by-Step Homemade Granola Bars Recipe
Here’s a foolproof recipe to make about 12 chewy, flavorful granola bars.
Ingredients:
- 2 ½ cups old-fashioned oats
- 1 cup chopped nuts (almonds, walnuts, or pecans)
- ½ cup honey (or maple syrup)
- ½ cup natural nut butter (peanut, almond, or sunflower)
- ½ cup dried fruit (cranberries, raisins, cherries)
- ¼ cup chocolate chips (optional)
- 1 tsp vanilla extract
- ½ tsp ground cinnamon
- ¼ tsp salt
Instructions:
- Toast the Oats & Nuts (Optional but Recommended)
Preheat oven to 350°F (175°C). Spread oats and nuts on a baking sheet and toast for 8–10 minutes until lightly golden. This step enhances flavor. - Heat the Binding Mixture
In a small saucepan over low heat, combine honey and nut butter. Stir until melted and smooth. Remove from heat and stir in vanilla, cinnamon, and salt. - Mix Everything Together
In a large bowl, combine oats, nuts, and dried fruit. Pour the warm honey-nut butter mixture over the top and stir until evenly coated. - Press Into Pan
Line an 8×8-inch baking dish with parchment paper. Transfer the mixture to the pan and press down firmly using a spatula or your hands. The tighter you pack it, the better the bars will hold together. - Cool & Set
Let the bars cool at room temperature for 1–2 hours or refrigerate for 30 minutes to firm up. - Cut Into Bars
Lift the mixture out of the pan using parchment paper. Slice into 12 bars with a sharp knife.
Tips for Success
Making homemade granola bars is simple, but these tips will help ensure your bars turn out perfect every time:
- Press Firmly: The more compact your mixture, the less likely your bars will crumble.
- Don’t Skip Cooling: Cooling allows the honey and nut butter to solidify, holding everything together.
- Use Parchment Paper: It makes removal and cleanup much easier.
- Adjust Sweetness: Taste the mixture before pressing it into the pan and adjust the sweetness to your liking.
- Store Properly: Keep bars in an airtight container at room temperature for up to 5 days, or refrigerate for up to 2 weeks.
Creative Variations of Homemade Granola Bars
Once you master the basic recipe, the possibilities are endless. Try these flavor combinations:
- Chocolate Coconut Delight – Add shredded coconut and dark chocolate chips.
- Peanut Butter Banana – Mix in banana chips and drizzle with melted peanut butter.
- Cranberry Pistachio – Perfect for a festive, colorful treat.
- Trail Mix Bars – Add sunflower seeds, mini pretzels, and dried apricots.
- Protein Boost – Mix in ¼ cup protein powder to make them a post-workout snack.
Are Homemade Granola Bars Healthy?
Yes! Compared to store-bought options, homemade granola bars are typically lower in refined sugar and higher in whole-food ingredients like oats, nuts, and seeds. You can control the sweetness and portion size, making them a balanced snack for kids and adults alike.
For an even healthier option, reduce the sweetener slightly and use unsweetened dried fruits or dark chocolate with at least 70% cocoa.
Storing and Freezing Homemade Granola Bars
One of the best things about homemade granola bars is how well they store.
- Room Temperature: Keep in an airtight container for 4–5 days.
- Refrigerator: Store in a sealed container for up to 2 weeks.
- Freezer: Wrap individual bars in parchment paper, place in a freezer-safe bag, and freeze for up to 3 months. Thaw for 10 minutes before eating.
Final Thoughts
Making homemade granola bars is an easy and rewarding way to upgrade your snack game. They’re customizable, healthier than most store-bought versions, and perfect for busy mornings, school lunches, or road trips. With just a few ingredients and about 20 minutes of hands-on time, you’ll have a batch of chewy, flavorful granola bars ready to enjoy.
So grab your oats, nut butter, and favorite mix-ins — and start experimenting with your own signature granola bar recipe. Once you try them, you might never go back to store-bought bars again!