Sticky rice is a beloved staple in many Asian cuisines, known for its unique texture—soft, chewy, and slightly sticky. Whether you’re craving a traditional Thai mango sticky rice dessert or want the perfect side to your favorite Asian dishes, learning how to make sticky rice is essential. This comprehensive guide will walk you through everything you need to know, including tips, techniques, and complete recipes for delicious sticky rice dishes.
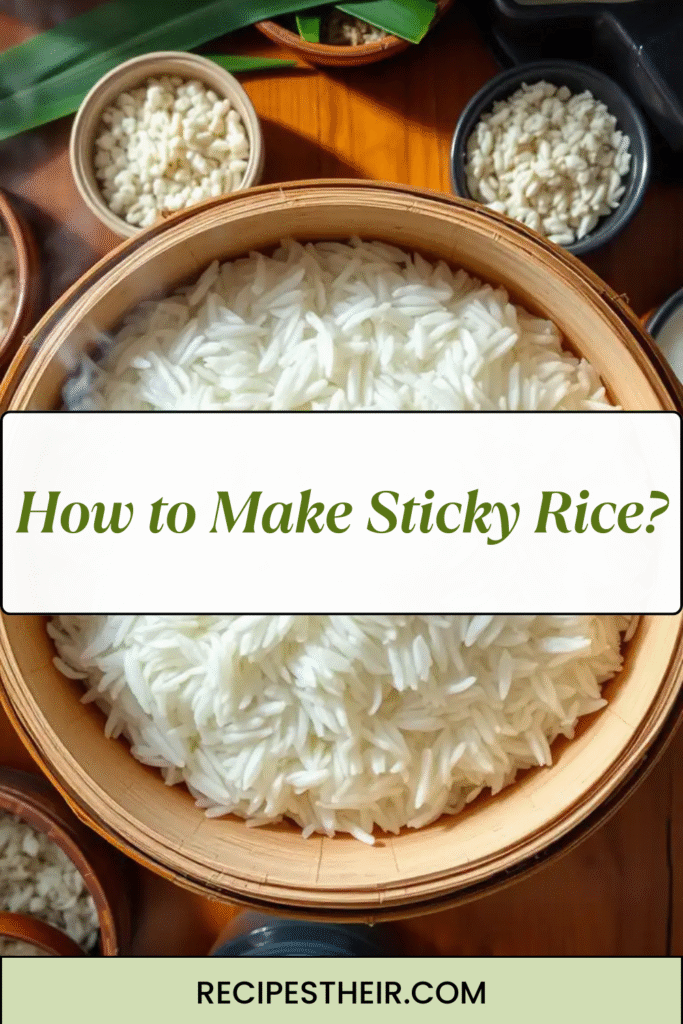
What is Sticky Rice?
Sticky rice, also called glutinous rice or sweet rice, is a type of rice grown mainly in Southeast Asia. Unlike regular rice varieties, sticky rice has a higher amylopectin content and almost no amylose, which makes the grains stick together when cooked. It’s naturally gluten-free despite the name “glutinous.”
Sticky rice is often used in savory dishes like sticky rice with chicken or sweet dishes such as mango sticky rice. The cooking method is crucial to achieving the perfect sticky texture without turning it mushy.
Why Use Sticky Rice?
- Unique Texture: Soft, chewy, and sticky, it’s perfect for rolling and shaping.
- Versatility: Works in both savory and sweet dishes.
- Traditional: A cultural favorite in many Asian cuisines.
- Gluten-Free: Safe for gluten-sensitive diets.
Ingredients You Need to Make Sticky Rice
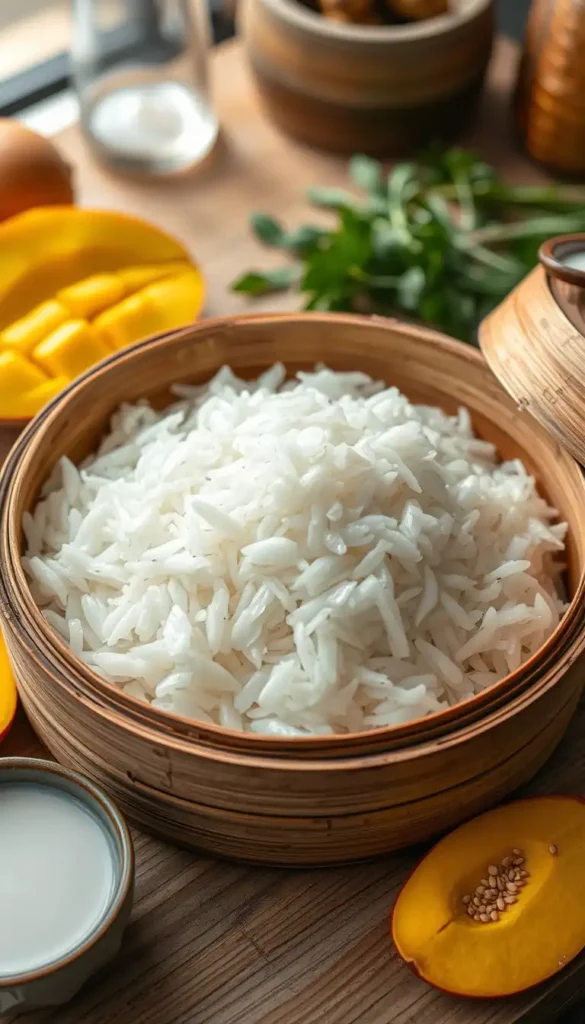
- 2 cups of glutinous (sticky) rice
- Water (for soaking and steaming)
- Optional: Coconut milk, sugar, salt (for desserts)
How to Make Sticky Rice: Step-by-Step Instructions
Step 1: Choose the Right Rice
Always use glutinous or sticky rice labeled specifically for this purpose. Do not substitute with jasmine or basmati rice—they won’t have the same sticky texture.
Step 2: Soak the Rice
Rinse the sticky rice several times until the water runs clear to remove excess starch. Then soak it in clean water for at least 4 hours or overnight. Soaking softens the grains and ensures even cooking.
Step 3: Drain and Prepare to Steam
After soaking, drain the rice thoroughly using a fine sieve or cheesecloth.
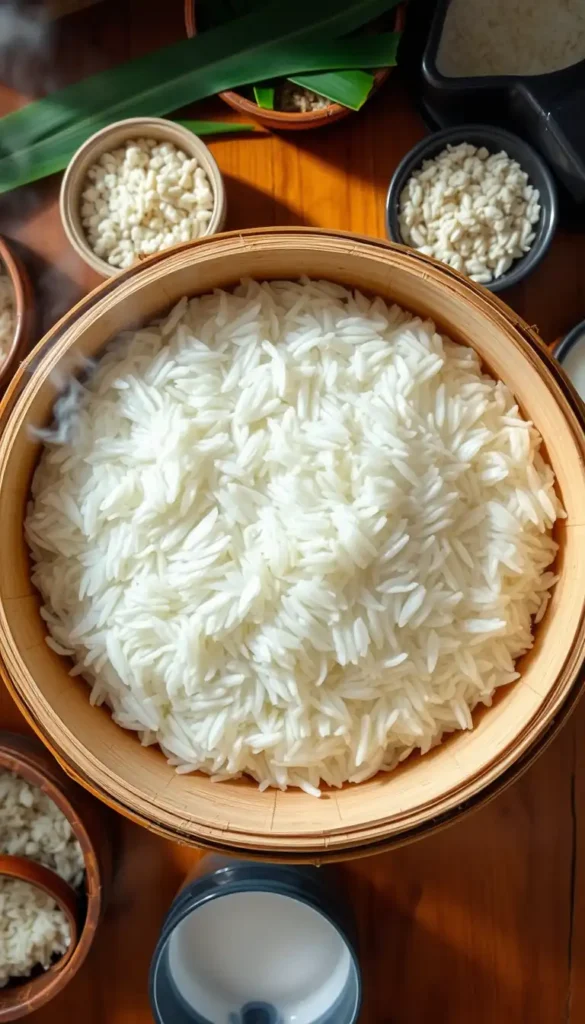
Step 4: Steam the Rice
Sticky rice is traditionally steamed, not boiled. You can use a bamboo steamer or a metal steamer basket.
- Line the steamer with cheesecloth or banana leaves to prevent rice from falling through.
- Spread the soaked rice evenly in the steamer.
- Steam over boiling water for about 20-25 minutes.
- After 20 minutes, check and gently fluff the rice, then continue steaming for another 10-15 minutes until the grains are translucent and tender.
Step 5: Serve Immediately
Sticky rice is best served hot or warm. If making a dessert, you can mix it with sweetened coconut milk.
Tips for Perfect Sticky Rice
- Don’t skip soaking: It’s essential for the right texture.
- Use a proper steamer: Boiling sticky rice can make it mushy.
- Fluff gently: Avoid stirring aggressively to keep grains intact.
- Serve fresh: Sticky rice hardens as it cools.
Complete Recipes Using Sticky Rice
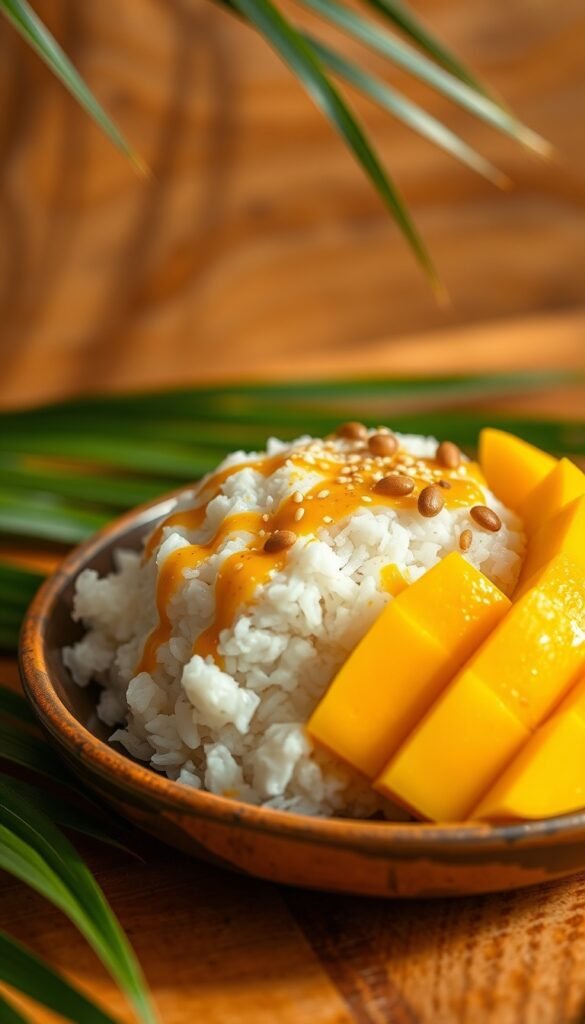
1. Classic Thai Mango Sticky Rice Recipe
Ingredients:
- 1 cup sticky rice (glutinous rice)
- 1 cup coconut milk
- 1/3 cup sugar
- 1/2 teaspoon salt
- 2 ripe mangoes, peeled and sliced
- Toasted sesame seeds or mung beans (optional, for garnish)
Instructions:
- Soak and steam sticky rice as described in the basic method above.
- Make coconut sauce: In a saucepan, heat coconut milk with sugar and salt over medium heat. Stir until sugar dissolves. Remove from heat but reserve about 1/4 cup of the sauce for serving.
- Mix the sticky rice and coconut sauce: Place the steamed sticky rice in a bowl and pour most of the coconut sauce over it. Mix gently and let it absorb for 20 minutes.
- Serve: Arrange mango slices next to the sticky rice, drizzle with the reserved coconut sauce, and sprinkle with toasted sesame seeds or mung beans if desired.
2. Sticky Rice with Chicken (Khao Niao Gai)
Ingredients:
- 1 cup sticky rice
- 2 chicken breasts or thighs, cooked and shredded
- 2 tablespoons soy sauce
- 1 tablespoon oyster sauce
- 1 teaspoon sugar
- 1 clove garlic, minced
- Fresh cilantro and sliced green onions for garnish
Instructions:
- Prepare sticky rice: Soak and steam as described above.
- Cook chicken: In a pan, sauté garlic until fragrant. Add shredded chicken, soy sauce, oyster sauce, and sugar. Cook until sauce thickens and coats the chicken.
- Serve: Plate the sticky rice and top with the savory chicken mixture. Garnish with cilantro and green onions.
3. Vietnamese Sticky Rice with Mung Bean (Xôi Đậu Xanh)
Ingredients:
- 1 cup sticky rice
- 1/2 cup split mung beans, soaked for 2 hours and steamed
- 2 tablespoons coconut milk
- 1 tablespoon sugar
- 1/2 teaspoon salt
- Fried shallots (optional)
Instructions:
- Soak and steam sticky rice as usual.
- Steam mung beans until soft, then mash lightly.
- Mix coconut milk, sugar, and salt in a small bowl.
- Layer: In a serving bowl, layer sticky rice, then mung beans, then sticky rice again.
- Drizzle coconut milk mixture over the top.
- Garnish with fried shallots for extra flavor and crunch.
Frequently Asked Questions (FAQs) About Sticky Rice
Can I cook sticky rice in a rice cooker?
Yes, some rice cookers have a sticky rice setting. However, soaking beforehand and using the steaming method often yields better texture.
How long does sticky rice last?
Cooked sticky rice is best eaten fresh. It can be stored in an airtight container in the fridge for 1-2 days but will harden and lose its texture.
Can I use regular rice instead of sticky rice?
No, regular rice varieties will not stick and become chewy like glutinous rice.
Conclusion
Knowing how to make sticky rice opens the door to countless delicious dishes—both savory and sweet. By following the soaking and steaming method, you ensure perfectly tender and chewy sticky rice every time. Try classic dishes like mango sticky rice or sticky rice with chicken to impress family and friends with authentic Asian flavors.