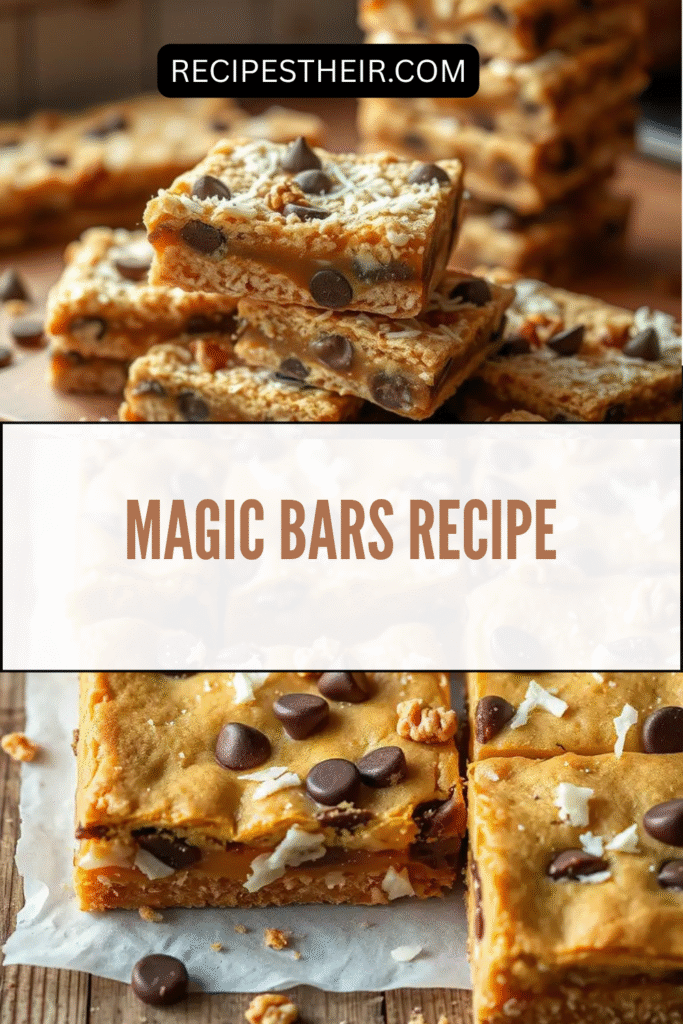
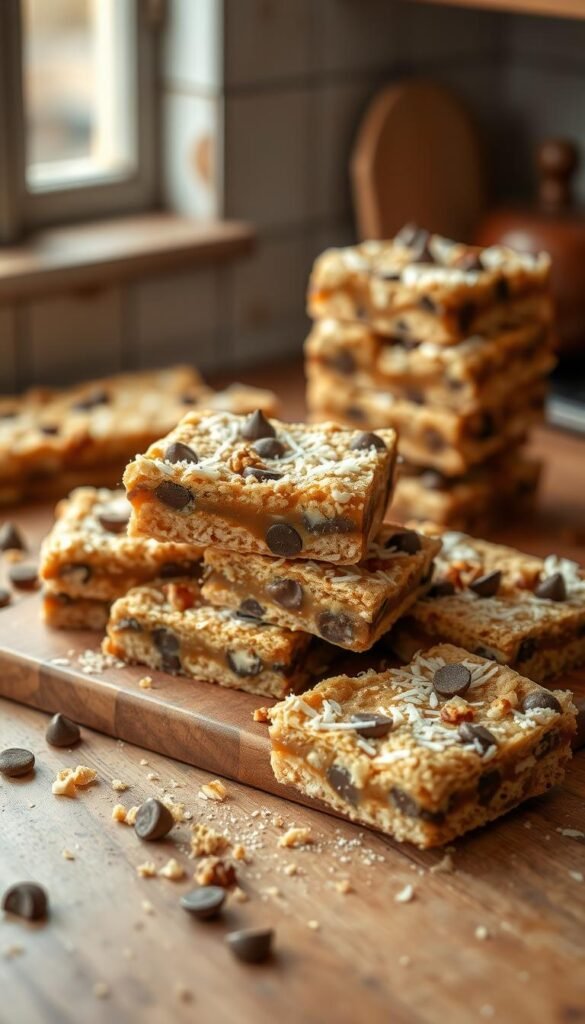
When it comes to crowd-pleasing desserts that require minimal effort but deliver maximum flavor, nothing beats a magic bars recipe. Sometimes called seven-layer bars or hello dolly bars, this nostalgic treat is a delightful combination of buttery graham cracker crust, gooey sweetened condensed milk, and layers of chocolate, coconut, and nuts.
Perfect for potlucks, bake sales, holiday trays, or simply satisfying your sweet tooth, these bars truly feel like magic — not because they’re hard to make, but because they disappear from the plate so quickly!
In this guide, you’ll learn exactly how to make magic bars from scratch, get tips for customizing them, and discover how to store them for long-lasting freshness.
Why You’ll Love This Magic Bars Recipe
- No mixer required – Just layer the ingredients and bake.
- Customizable – Swap nuts, chocolate types, or add candies to make it your own.
- Crowd-pleaser – Everyone from kids to grandparents will love them.
- Make-ahead friendly – They taste even better the next day.
Ingredients for Magic Bars Recipe
Here’s what you’ll need for the classic magic bars recipe:
- 1/2 cup (1 stick) unsalted butter, melted
- 1 1/2 cups graham cracker crumbs (about 10 full crackers)
- 1 (14-ounce) can sweetened condensed milk
- 1 cup semisweet chocolate chips
- 1 cup butterscotch chips (optional, but delicious)
- 1 cup shredded sweetened coconut
- 1 cup chopped nuts (walnuts, pecans, or almonds work great)
Step-by-Step Instructions
Step 1: Preheat the Oven
Set your oven to 350°F (175°C). Line a 9×13-inch baking pan with parchment paper for easy removal.
Step 2: Make the Crust
In a medium bowl, combine melted butter with graham cracker crumbs. Mix until it resembles wet sand. Press the mixture evenly into the bottom of your prepared baking pan.
Step 3: Add the Layers
Pour the sweetened condensed milk evenly over the crust. This will act as the glue that holds all the layers together.
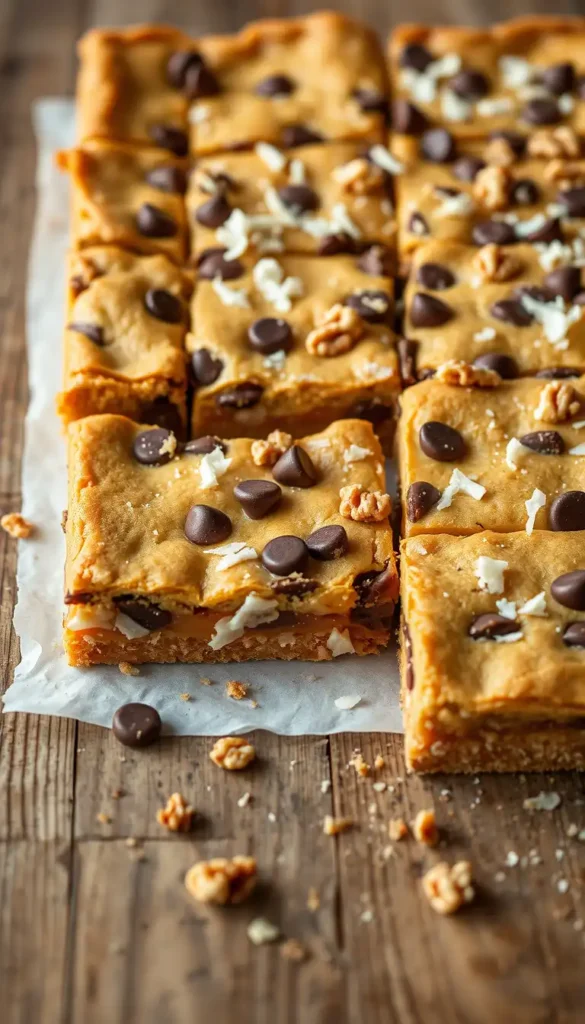
Next, sprinkle your chocolate chips, butterscotch chips, coconut, and nuts evenly over the top.
Step 4: Bake
Place the pan in the oven and bake for 25–30 minutes, or until the top is golden brown and the edges are bubbly.
Step 5: Cool and Slice
Let the bars cool completely before cutting into squares. This helps them set and makes slicing easier.
Tips for Perfect Magic Bars
- Use parchment paper – Makes cleanup a breeze and prevents sticking.
- Cool completely – Cutting too soon will cause them to fall apart.
- Press down lightly – After adding all the layers, press them gently so they stick together better.
- Don’t overbake – The edges should be lightly browned, but the center will firm up as it cools.
Variations to Try
The beauty of this magic bars recipe is that you can customize it endlessly:
- Peanut Butter Lover’s – Use peanut butter chips instead of butterscotch.
- Holiday Twist – Add crushed candy canes or red and green M&M’s.
- White Chocolate Raspberry – Swap chocolate chips for white chocolate and swirl in raspberry preserves.
- Gluten-Free – Use gluten-free graham crackers.
How to Store Magic Bars
- Room Temperature – Keep in an airtight container for up to 5 days.
- Refrigerator – Store for up to 1 week for a firmer texture.
- Freezer – Wrap individually and freeze for up to 3 months. Thaw at room temperature before serving.
Frequently Asked Questions
1. Can I make magic bars without nuts?
Yes! Simply leave out the nuts or replace them with extra chocolate chips or dried fruit.
2. Do I have to use sweetened condensed milk?
Yes — it’s essential for the texture and sweetness of classic magic bars. Evaporated milk won’t work.
3. Why are they called magic bars?
Because they practically make themselves — you layer the ingredients, bake, and somehow they transform into a cohesive, chewy, delicious dessert.
Final Thoughts
This magic bars recipe is proof that you don’t need complicated steps or fancy equipment to make a decadent dessert. With just a few pantry staples and less than 10 minutes of prep, you can whip up a treat that will have everyone asking for the recipe.
Whether you’re baking for a holiday party, a school event, or just a cozy weekend at home, these bars will quickly become your go-to dessert.