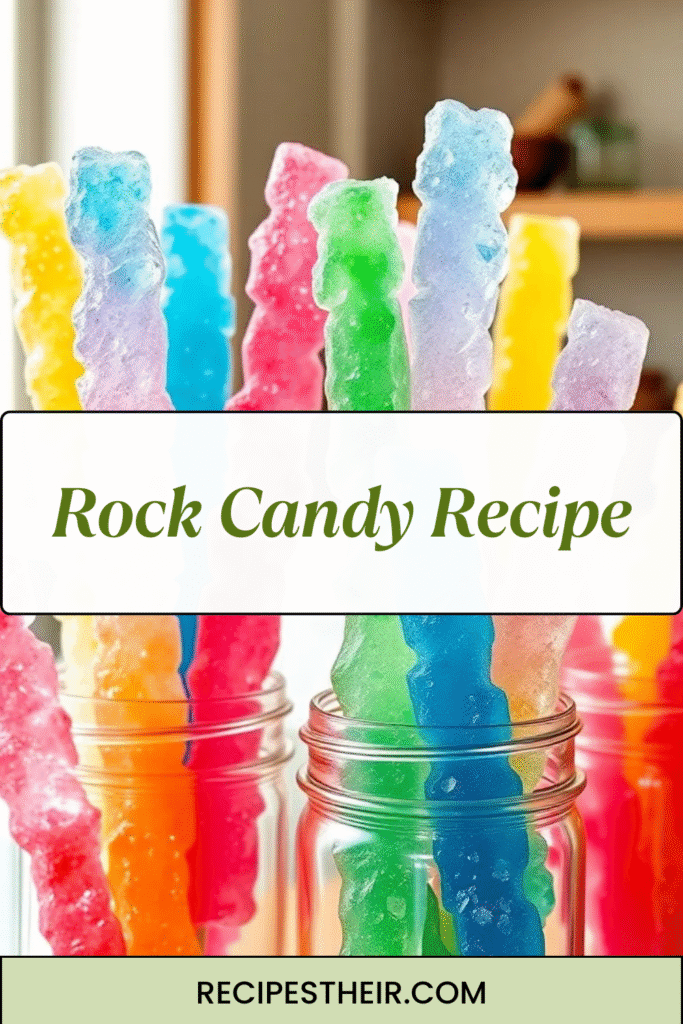
Rock candy isn’t just a sweet treat — it’s a beautiful science experiment you can eat! This old-fashioned candy is made from just sugar, water, and a little patience, resulting in stunning sugar crystals that look like glittering gemstones. Whether you’re making them for a party, as a fun family activity, or simply to satisfy your sweet tooth, this rock candy recipe will walk you through everything you need to know, step-by-step.
In this article, you’ll learn:
- What rock candy is and how it works
- The ingredients and tools you’ll need
- Step-by-step instructions for perfect sugar crystals
- Flavor and color ideas
- Tips for faster crystal growth
- Storage and serving suggestions
What Is Rock Candy?
Rock candy is made by letting sugar crystals grow slowly from a supersaturated sugar solution. As the water evaporates, sugar molecules bond together to form large crystals, creating beautiful, colorful candy sticks.
Rock candy has been enjoyed for centuries, both as a treat and for medicinal purposes. Today, it’s popular at parties, weddings, and even as edible science experiments for kids.
Why You’ll Love This Rock Candy Recipe
- Only 3 Ingredients – Sugar, water, and flavoring or coloring (optional).
- Fun for Kids – A delicious way to teach kids about crystal formation.
- Customizable – Make any color or flavor you like.
- Perfect for Gifts & Parties – Beautiful and unique.
Ingredients for Rock Candy
You only need a few basic pantry staples:
- 4 cups granulated sugar (plus extra for coating skewers)
- 2 cups water
- Food coloring (optional) – Gel or liquid
- Flavor extract (optional) – Vanilla, cherry, lemon, peppermint, etc.
Tools You’ll Need
- Wooden skewers or cotton string
- Glass jars or tall glasses
- Clothespins or chip clips
- Saucepan
- Measuring cups and spoons
Step-by-Step Rock Candy Recipe
Step 1: Prepare the Skewers
- Dip wooden skewers into water.
- Roll them in sugar to create a “seed” layer for the crystals to cling to.
- Let them dry completely (about 1–2 hours).
Tip: This step is crucial for crystal growth — without the sugar coating, crystals will take longer to form.
Step 2: Make the Sugar Solution
- In a medium saucepan, bring 2 cups water to a boil over medium heat.
- Slowly add 4 cups sugar, stirring until fully dissolved.
- Continue adding sugar until no more dissolves — this creates a supersaturated solution.
- Remove from heat and stir in food coloring and flavor extract, if desired.
Step 3: Set Up the Jars
- Pour the hot sugar solution into clean glass jars.
- Place one prepared skewer into each jar, making sure it hangs in the center without touching the bottom or sides. Use a clothespin balanced across the jar’s rim to hold it in place.
Step 4: Grow the Crystals
- Place the jars in a quiet, warm spot where they won’t be disturbed.
- Cover loosely with paper towels to keep dust out.
- Watch crystals start to form within 24 hours, but for best results, let them grow for 5–7 days.
Step 5: Remove and Dry
- When crystals reach the size you like, remove the skewers.
- Let them dry on wax paper for a few hours.
- Enjoy your homemade rock candy!
Flavor & Color Ideas
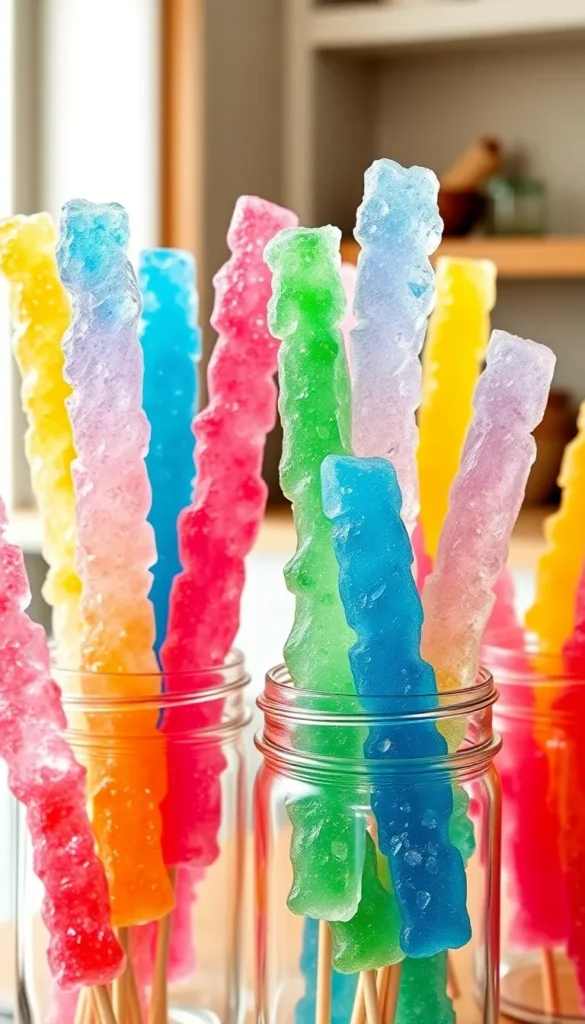
- Rainbow Rock Candy – Make several batches with different colors and display them together.
- Fruit Flavors – Add strawberry, lemon, orange, or grape extract.
- Minty Fresh – Use peppermint extract and light blue food coloring.
- Cotton Candy Vibes – Pink and blue swirls with cotton candy flavoring.
Tips for Perfect Rock Candy
- Don’t Rush – The longer you let crystals grow, the bigger they’ll be.
- Avoid Stirring After Setup – Movement can break forming crystals.
- Warm Location Helps – Crystal growth is faster in a warm, dry environment.
- Seed Your Skewers Well – The sugar coating gives crystals a place to start.
How to Store Rock Candy
Store in an airtight container at room temperature. Rock candy lasts for up to 1 year if kept dry, making it great for gifting.
Rock Candy Science for Kids
Rock candy is a fun way to explore supersaturation and crystal formation. Sugar dissolves in water up to a certain concentration — by heating the water, you can dissolve more sugar than normal. As the solution cools and evaporates, sugar molecules come together to form crystals.
This makes it not just a recipe, but a tasty science experiment you can eat!
Serving Ideas
- Use as stir sticks for tea, coffee, or cocktails.
- Wrap in clear cellophane bags with ribbons for party favors.
- Add to dessert tables for a colorful, sparkly touch.
Common Questions About Rock Candy
1. Can I use brown sugar?
Yes, but it will produce a caramel-colored candy with a molasses flavor.
2. Why aren’t crystals forming?
Your solution might not be saturated enough, or your skewers weren’t seeded well.
3. Can I reuse the leftover syrup?
Yes, reheat and dissolve more sugar to create a fresh batch.
Final Thoughts on This Rock Candy Recipe
Making rock candy at home is fun, easy, and a great way to get creative with flavors and colors. All you need is sugar, water, and a little patience to create sparkling candy that’s as beautiful as it is delicious. Whether you’re doing it for a school project, a party, or just to satisfy your sweet tooth, this rock candy recipe will give you picture-perfect results every time.
So, grab your sugar and skewers, and start growing your own edible crystals today!