
If you love creamy, frothy cold foam on your iced coffee but want to keep it dairy-free, you’re in the right place. Vegan cold foam is the perfect way to elevate your morning brew without compromising your plant-based lifestyle. It’s light, airy, and adds that coffeehouse-style luxury to your drinks — but it’s made entirely from non-dairy ingredients.
In this article, we’ll cover everything you need to know about vegan cold foam: what it is, the best plant milks to use, how to make it at home, tips for getting it perfectly frothy, and creative flavor variations. Whether you’re a coffee enthusiast or just looking to cut back on dairy, this guide will have you whipping up the perfect cold foam in no time.
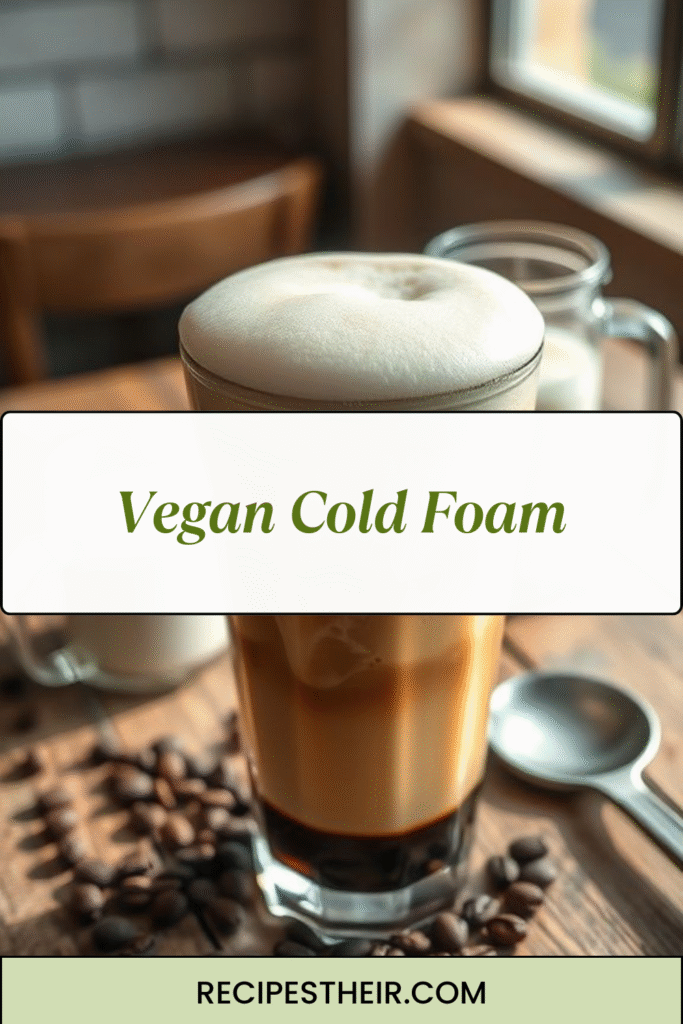
What is Vegan Cold Foam?
Cold foam is a frothy, creamy topping that sits on top of iced coffee or cold brew, slowly mixing into the drink for a luxurious coffee shop experience. Traditional cold foam is made using skim milk, but vegan cold foam uses plant-based milks or creamers to achieve the same texture and taste.
The key to a great vegan cold foam is choosing a plant milk that can froth well — not all of them will produce that airy, cloud-like foam you’re looking for. Luckily, there are several great options that work beautifully and taste even better than dairy milk.
Why Make Vegan Cold Foam at Home?
- Save Money: A single cold foam coffee from a café can cost $5–$7. Making it at home costs pennies.
- Control Ingredients: You can choose your favorite plant milk, adjust sweetness, and skip additives or preservatives.
- Custom Flavors: Make it vanilla, caramel, mocha, cinnamon, or even pumpkin spice — your options are endless.
- Healthier Option: Many plant milks are lower in calories and saturated fat compared to dairy creamers.
Best Plant Milks for Vegan Cold Foam

Not all plant-based milks froth equally. Here’s a quick guide to the best choices for making creamy, fluffy vegan cold foam:
- Oat Milk – The most popular choice. Naturally creamy, slightly sweet, and froths beautifully. Barista blends work especially well.
- Soy Milk – A great high-protein option that foams easily and holds its shape.
- Almond Milk – Light and nutty, though some brands may not froth as much. Look for “barista almond milk.”
- Coconut Milk (from a carton) – Adds a tropical hint of flavor and creates a rich foam.
- Cashew Milk – Smooth and creamy with a mild flavor, perfect for a neutral foam.
💡 Tip: Always choose unsweetened, unflavored versions for the base and add your own flavoring.
Ingredients for Vegan Cold Foam
Here’s what you need to make a basic vegan cold foam:
- ½ cup cold oat milk (or your preferred plant milk)
- 1 teaspoon maple syrup or agave (optional, for sweetness)
- ½ teaspoon vanilla extract (optional, for flavor)
- Pinch of salt (enhances flavor)
How to Make Vegan Cold Foam (Step-by-Step)
Making vegan cold foam is quick and easy — you only need a blender, milk frother, or even a mason jar. Here’s the step-by-step process:
Step 1: Chill Your Milk
Start with very cold plant milk straight from the fridge. The colder the milk, the better it will froth.
Step 2: Add Flavorings
Pour your milk into a small mixing cup or frothing pitcher. Add vanilla extract, maple syrup, and a pinch of salt.
Step 3: Froth It Up
Use one of these tools to froth your milk:
- Handheld Milk Frother: The easiest option — just submerge and froth until thick and foamy (about 20-30 seconds).
- Blender: Blend on high for 20-30 seconds until light and airy.
- French Press: Add the milk, pump the plunger rapidly for 30-40 seconds until doubled in volume.
Step 4: Top Your Coffee
Pour your freshly frothed vegan cold foam gently over your iced coffee or cold brew. Watch as it floats on top like a creamy cloud.
Tips for Perfect Vegan Cold Foam
- Use Barista Blends: Plant milks labeled “barista” are specifically formulated to froth and create microfoam.
- Don’t Over-Sweeten: Too much sugar can weigh down the foam. Start with a small amount and adjust to taste.
- Serve Immediately: Cold foam is best enjoyed right away before it collapses.
- Experiment: Every plant milk froths differently. Try a few and see which one gives you the texture you love.
Flavor Variations for Vegan Cold Foam
One of the best parts of making vegan cold foam at home is customizing it. Here are some delicious variations to try:
- Vanilla Bean: Add ½ teaspoon vanilla bean paste for an aromatic upgrade.
- Caramel: Stir in 1 teaspoon vegan caramel syrup for a sweet twist.
- Cinnamon Sugar: Add ¼ teaspoon cinnamon and a sprinkle of brown sugar.
- Mocha: Mix in 1 teaspoon cocoa powder and a touch of maple syrup.
- Pumpkin Spice: Add ¼ teaspoon pumpkin pie spice and a drizzle of maple.
Vegan Cold Foam Recipe Card
Prep Time: 3 minutes
Total Time: 3 minutes
Servings: 1
Ingredients:
- ½ cup cold oat milk (or soy milk)
- 1 tsp maple syrup (optional)
- ½ tsp vanilla extract
- Pinch of salt
Instructions:
- Pour cold oat milk into a small cup or pitcher.
- Add maple syrup, vanilla extract, and salt.
- Froth using a handheld milk frother or blender until thick and foamy.
- Pour over iced coffee or cold brew.
- Serve immediately and enjoy!
Pairing Ideas for Vegan Cold Foam
- Cold Brew Coffee: The classic pairing — smooth, bold, and balanced.
- Iced Matcha Latte: The foam adds a velvety texture to earthy matcha.
- Iced Chai Latte: A sweet and spiced treat with creamy topping.
- Iced London Fog: Cold foam turns this Earl Grey latte into a café-worthy drink.
Storage Tips
Vegan cold foam is best made fresh, but you can store leftover frothed milk in the fridge for up to 24 hours. Just re-froth before serving to bring back the airy texture.
Final Thoughts on Vegan Cold Foam
Learning how to make vegan cold foam at home is a total game changer for coffee lovers. It’s easy, affordable, and customizable, and it transforms your regular iced coffee into something special. By experimenting with different plant milks and flavors, you can create a dairy-free drink that rivals any coffee shop order.
Next time you brew a cold coffee, skip the drive-thru and whip up your own creamy vegan cold foam — your wallet (and taste buds) will thank you!